
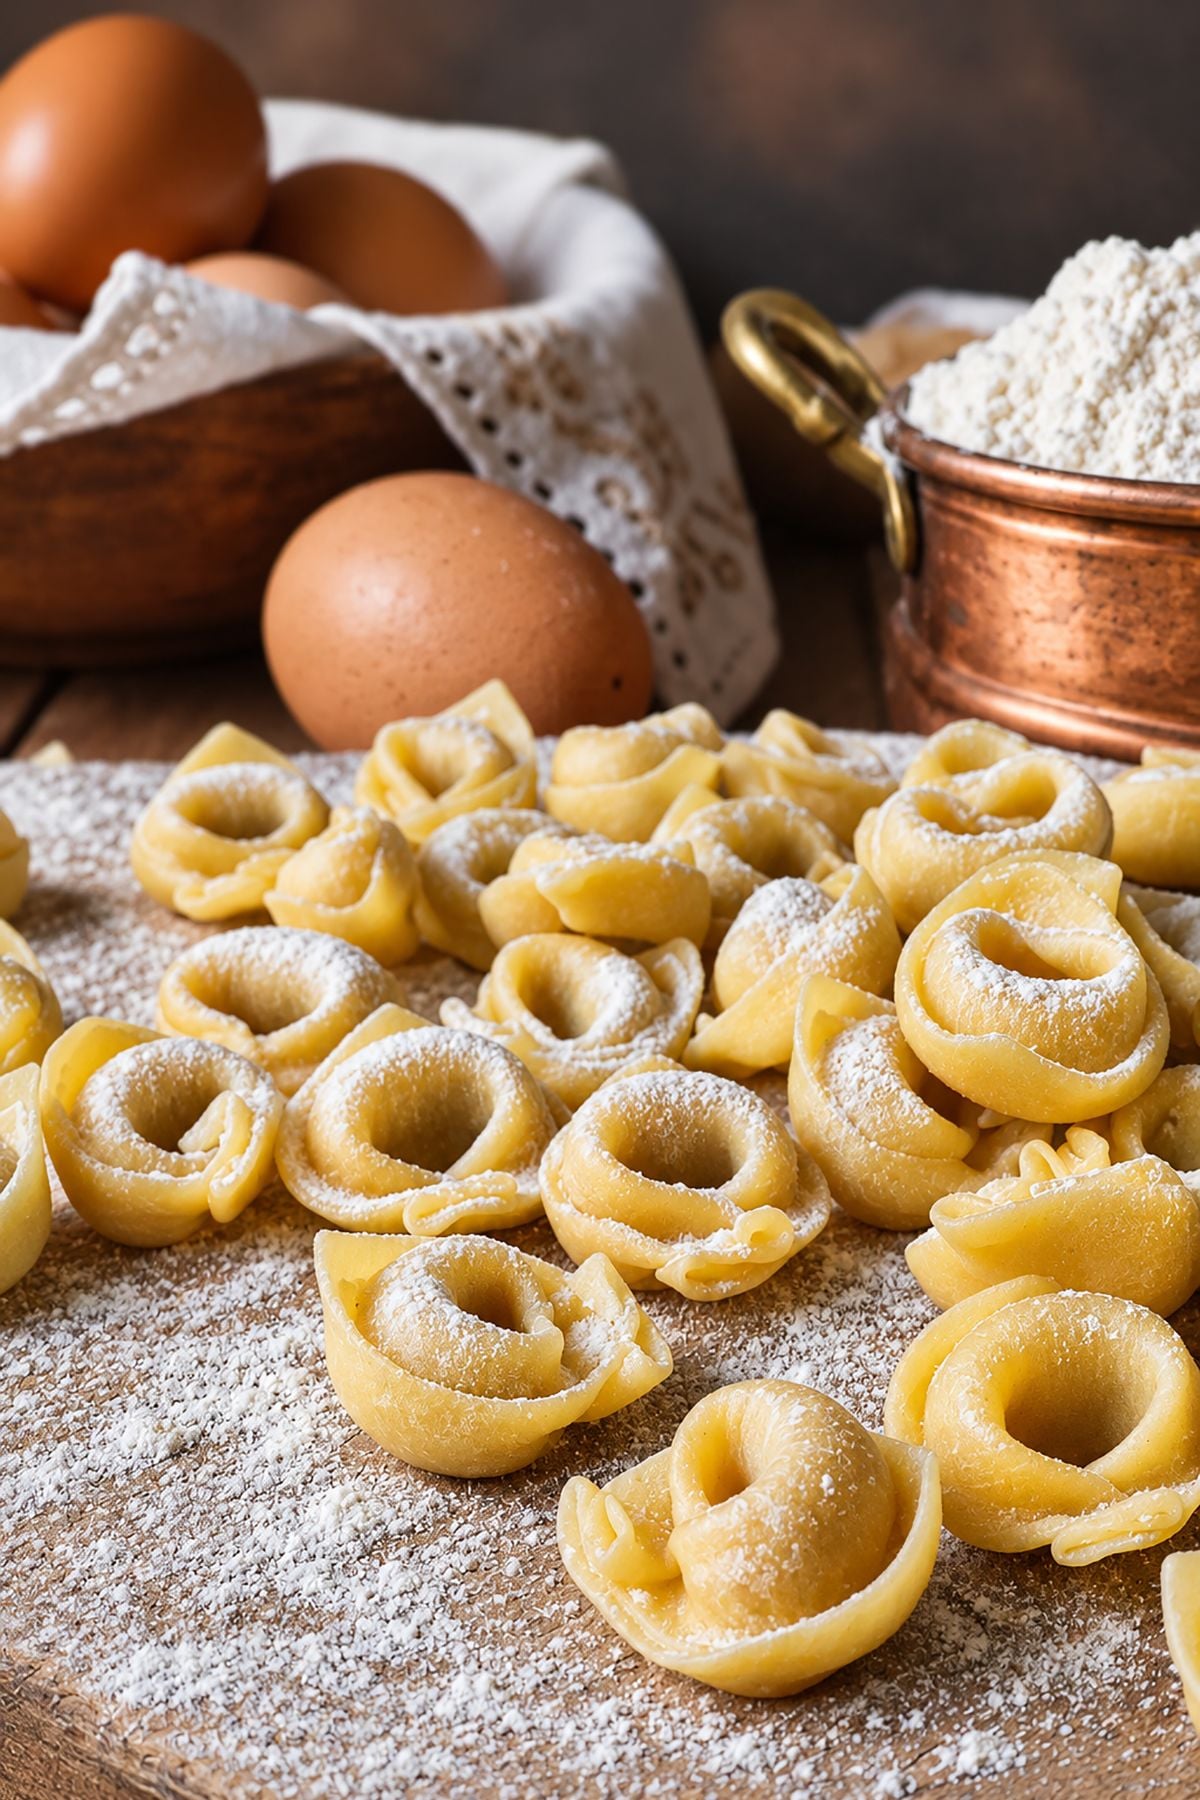
Homemade tortellini are one of the most iconic specialties of Bologna: tiny squares of fresh egg pasta wrapped around a rich filling of pork, Prosciutto di Parma, Mortadella di Bologna, Parmigiano Reggiano, egg, and nutmeg.
In this homemade tortellini recipe, I'll show you how to make them completely from scratch, from preparing the traditional-style meat filling to rolling the fresh pasta and shaping each tortellino by hand.
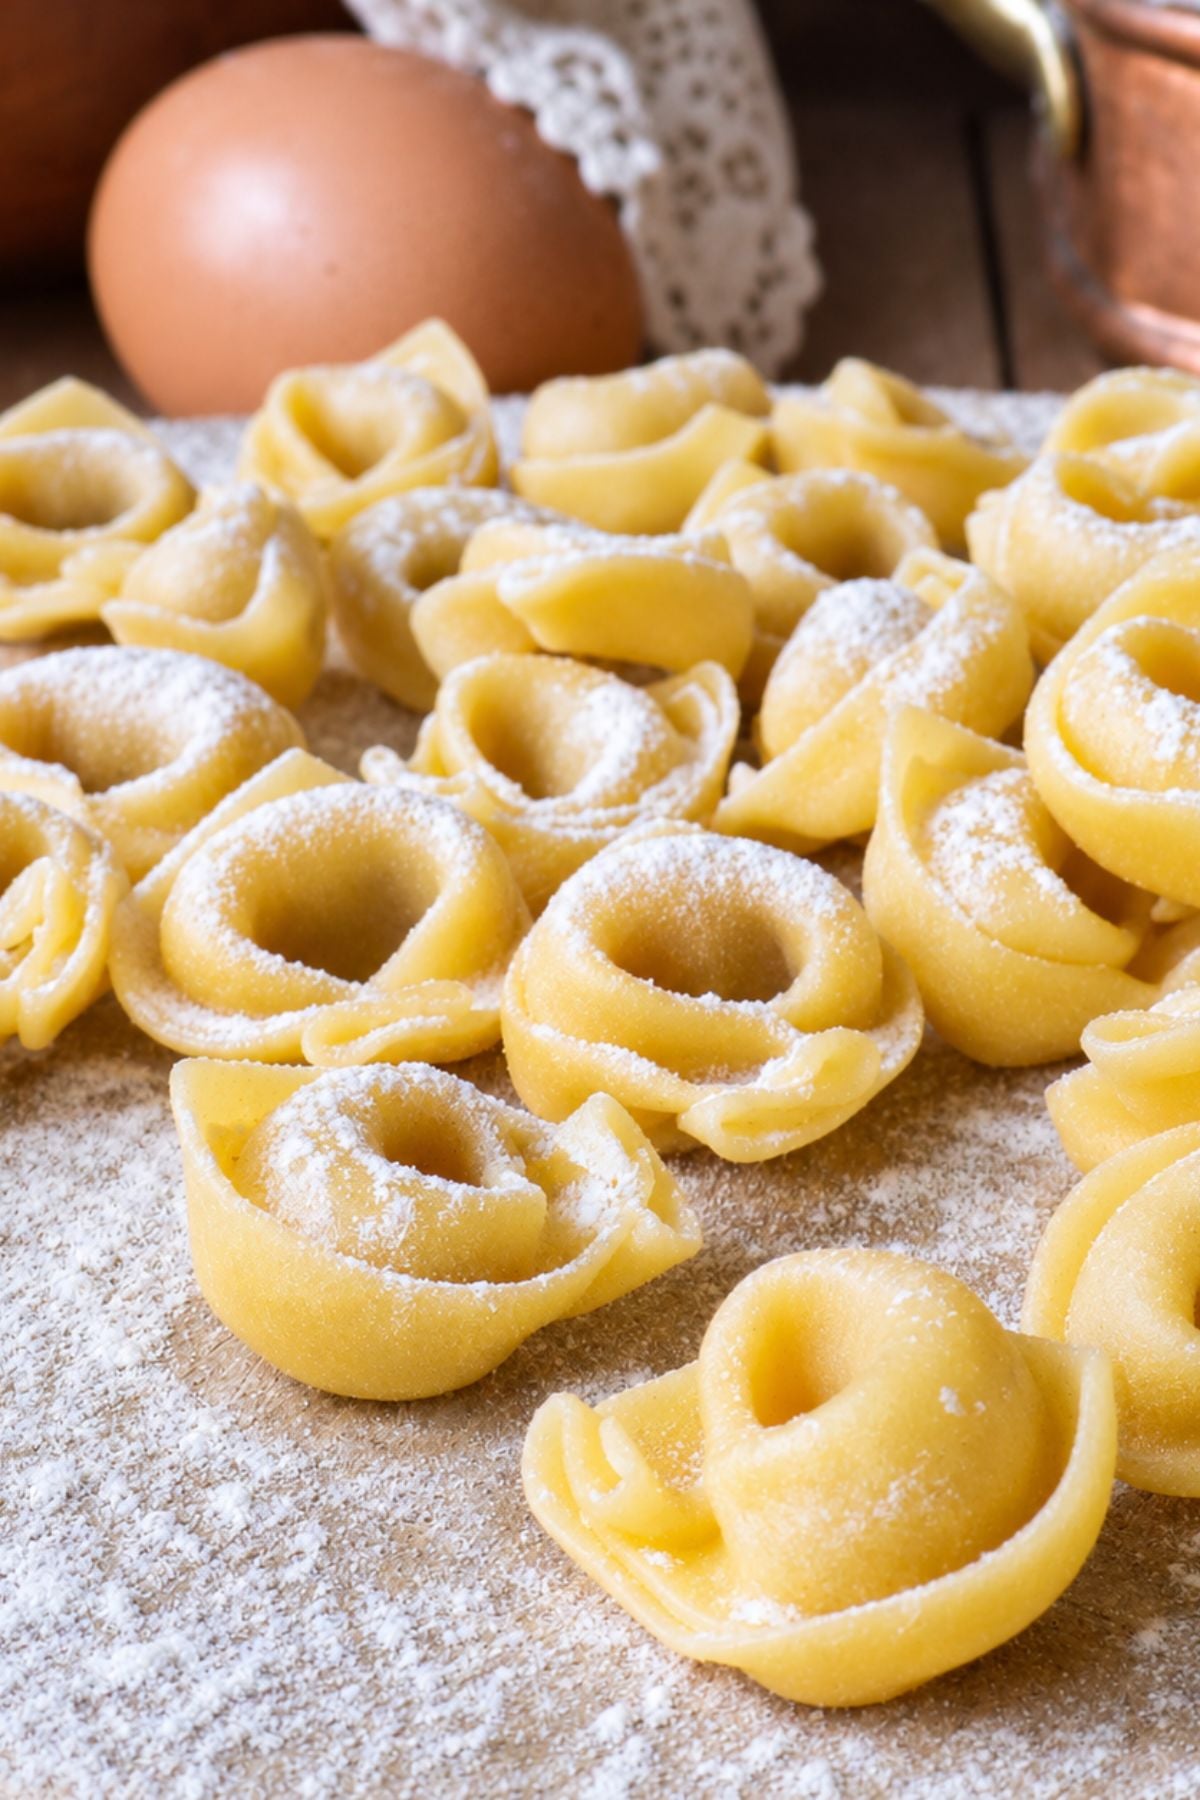
Making tortellini from scratch takes time, but the process becomes much easier once you get into a rhythm. The filling is prepared the day before, the pasta is rolled into thin sheets, and each small square is filled and folded into the characteristic ring shape.
The most traditional way to serve them is Tortellini in Brodo, especially during the Christmas season and for special family meals. You can also use your homemade tortellini to make Tortellini with Cream and Prosciutto or Baked Tortellini with Tomato and Mozzarella.
With step-by-step photos for every stage, this guide will show you exactly how to make tortellini from scratch, from the filling and pasta dough to the final shaping.
Jump to:
Ingredients
Prep Time: 3 Hours 30 Min | Resting Time: 24 Hours 30 Min | Servings: 4
For the Pasta Dough
- 150 g (1¼ cups) Italian “00” flour
- 150 g (about 1 cup) durum wheat semolina flour, plus a little more for dusting
- 3 medium eggs, about 65–70 g (2.3–2.5 oz) each
This is the same fresh egg pasta dough I use in my Homemade Pasta recipe, based on the classic ratio of approximately 1 egg for every 100 g of flour.
For the Tortellini Filling
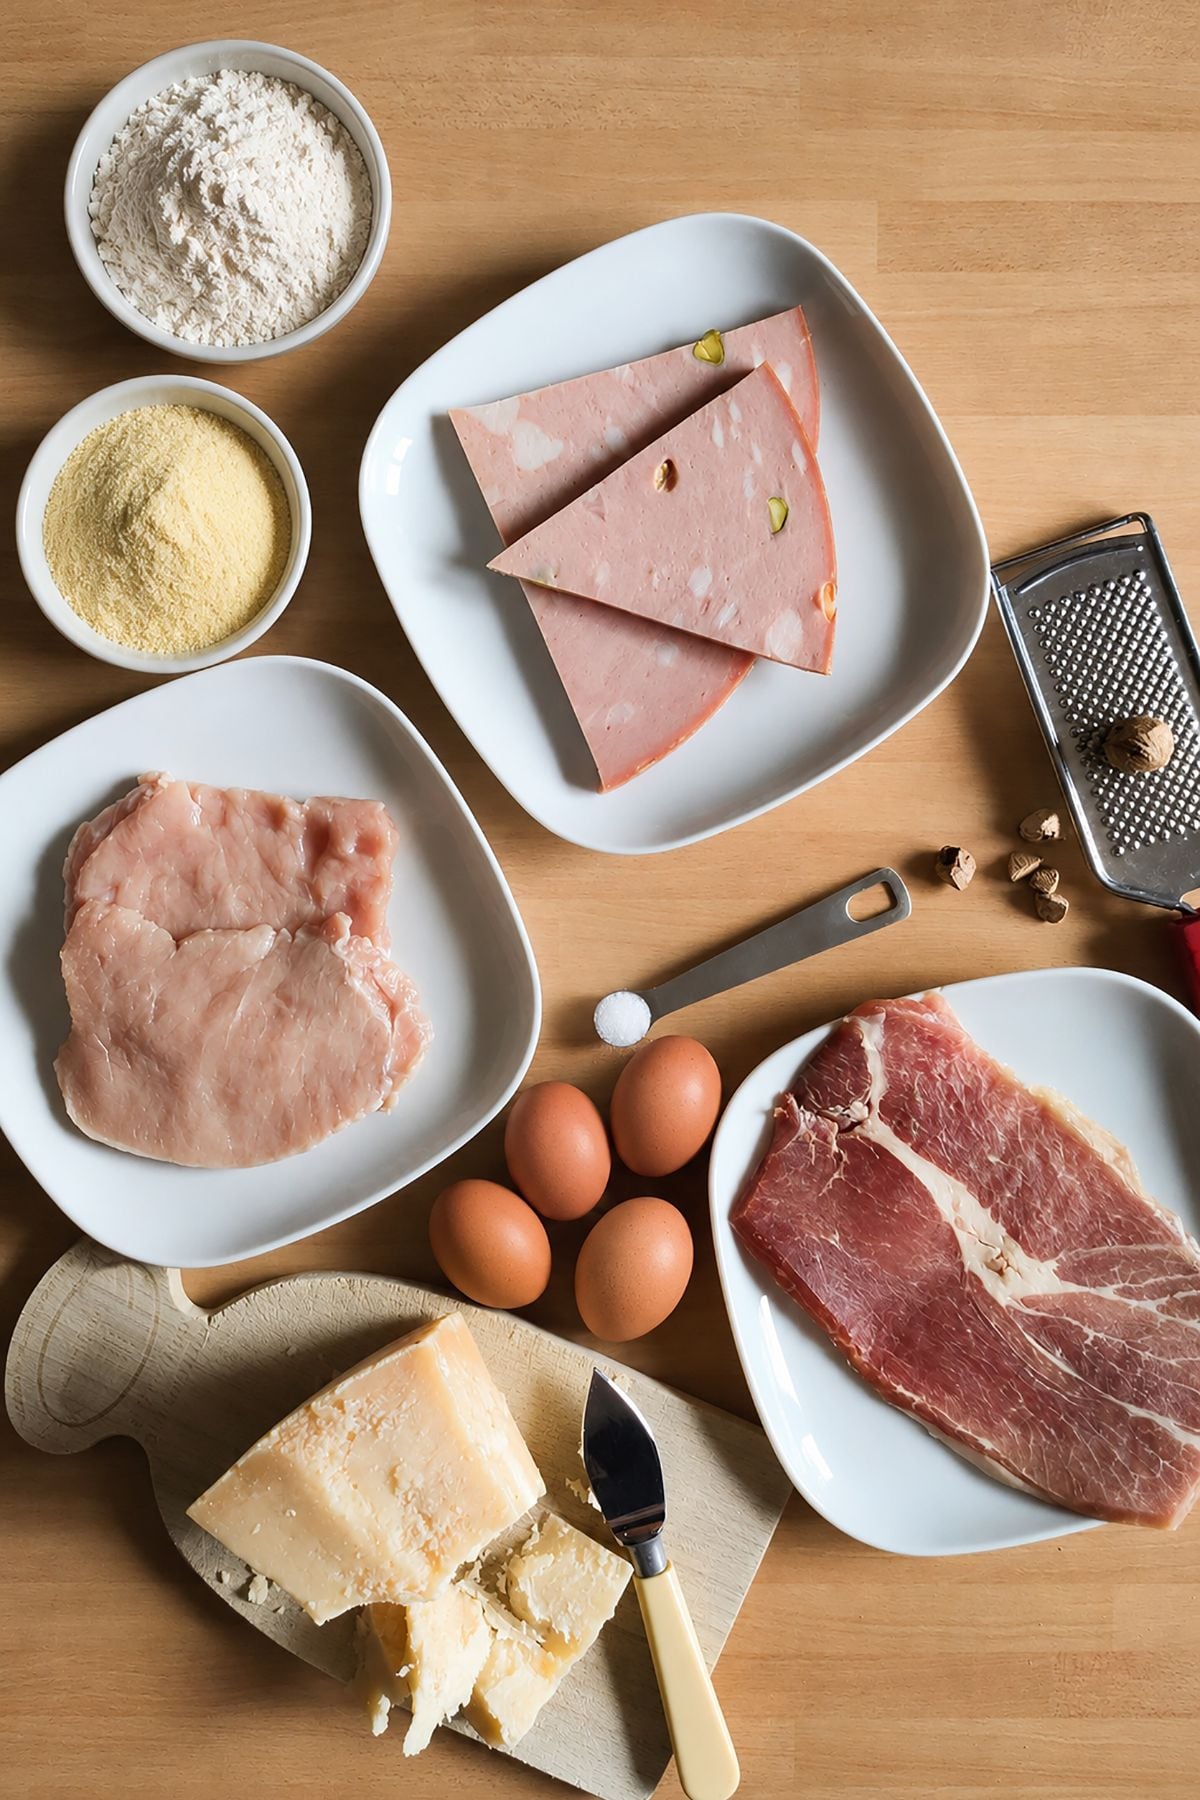
- 100 g (3½ oz) pork loin
- 100 g (3½ oz) Mortadella di Bologna, preferably in one thick slice
- 100 g (3½ oz) Prosciutto di Parma, preferably in one thick slice
- 150 g (about 1½ cups) finely grated Parmigiano Reggiano
- 1 large egg
- ¼ teaspoon freshly grated nutmeg
- A small knob of unsalted butter, for cooking the pork
- Fine salt, only if needed
Kitchen Tools and Equipment
You don't need many special tools to make homemade tortellini, but a few pieces of equipment will make the process much easier.
- Rolling pin: You can roll the dough by hand with a wooden rolling pin, or use a pasta machine to obtain thin, even sheets more quickly.
- Pasta machine: The Imperia pasta maker is a traditional manual pasta machine that works very well for rolling fresh egg pasta. A compatible motor attachment can also make the process faster.
- Stand mixer pasta roller: If you use a KitchenAid stand mixer, the pasta roller attachment is another convenient option for rolling the dough into thin sheets.
- Sharp knife or pasta wheel: You will need one to cut the pasta sheets into small, even squares.
- Dough scraper: Useful for kneading, dividing, and lifting the fresh pasta dough from the work surface.
- Tray or clean kitchen towel: Use it to hold the shaped tortellini while you finish the rest, lightly dusted with semolina to prevent sticking.
How to Make Homemade Tortellini
Make the Tortellini Filling
BEFORE YOU START: The filling needs to rest in the refrigerator for 24 hours so the flavors can blend. For this reason, prepare it the day before you plan to make the tortellini.

Step 1) - Roughly chop the pork loin, Mortadella, and Prosciutto di Parma.
Melt a small knob of butter in a skillet and add the pork. Cook for a few minutes over medium-low heat, then cover and continue cooking gently for about 3–4 minutes, or until cooked through but still tender. Let it cool slightly.

Step 2) - Place the cooked pork, prosciutto, and mortadella in a food processor.
Pulse until the mixture is very finely chopped, but avoid processing it into a completely smooth paste.

Step 3) - Transfer the mixture to a bowl. Add the finely grated Parmigiano Reggiano, egg, and nutmeg.
Mix thoroughly. Taste before adding salt, since the prosciutto, mortadella, and Parmigiano are already naturally salty.

Step 4) - Continue mixing until you have a compact, evenly blended filling.
Cover the bowl tightly with plastic wrap and refrigerate for 24 hours.
Make the Pasta Dough for Tortellini

Step 1) - Place the “00” flour and semolina flour on a clean work surface and mix them together. Shape the flour into a mound and make a wide well in the center.
Crack the eggs into the well.
Using your fingertips, gradually work the flour into the eggs until the dough begins to come together.
Knead vigorously for about 10 minutes, pushing the dough away from you with the heel of your hand and folding it back over itself. Use a dough scraper to gather any pieces sticking to the work surface.
The finished dough should be smooth, firm, and elastic.

Step 2) - Shape the dough into a ball and wrap it tightly in plastic wrap to keep it from drying out.
Let it rest at room temperature for at least 30 minutes. This relaxes the gluten and makes the dough much easier to roll.

Step 3) - Lightly dust the work surface with semolina flour.
Take a piece of dough about the size of a tennis ball and flatten it with your palms. Keep the remaining dough wrapped while you work so it stays soft.
Set your pasta machine to its widest setting and pass the dough through the rollers once.

Step 4) - Fold the pasta sheet in half, then fold it in half again.
This first folding stage helps create a smoother, more elastic sheet.

Step 5) - Lightly dust the dough with semolina if needed and pass it through the widest setting again.
Repeat the fold-and-roll process 2 or 3 times, until the sheet becomes smooth and even.
If the pasta begins to stick, use only a light dusting of semolina. If the sheet becomes too long to handle easily, cut it in half.

Step 6) - Begin reducing the thickness one setting at a time, passing the dough through the rollers without folding it again.
Continue until the pasta sheet is about 1 mm thick. On my pasta machine, this is approximately setting 5, but pasta machines vary, so use the actual thickness as your guide.
For tortellini, the pasta needs to be thin and supple but still strong enough to hold the filling without tearing.
How to Shape Tortellini

Step 1) - As soon as the pasta sheets are ready, dust them very lightly with semolina and keep them covered so they do not dry out.
Work with one sheet at a time.
Cut the sheet lengthwise into strips about 3–4 cm (1.2–1.6 inches) wide, then stack the strips carefully.

Step 2) - Cut the strips into squares measuring 3–4 cm (1.2–1.6 inches) on each side.
Traditional Bolognese tortellini are very small and are made from squares about 3 cm (1.2 inches) wide. I usually make mine about 4 cm (1.6 inches) because they are easier to fill and shape, especially if you are making tortellini for the first time.

Step 3) - Roll the filling into tiny balls, approximately the size of a chickpea, and place one in the center of each square.
Work with about 10 squares at a time, keeping the remaining pasta covered so it stays soft.

Fase 4) - If the pasta is still fresh and supple, you should be able to seal it without adding water. If the edges have started to dry, lightly moisten them with a fingertip.
Fold each square diagonally, corner to corner, to form a triangle.
Press gently around the filling to remove any trapped air, then press the edges firmly together to seal.

Step 5) - Hold the triangle with the point facing upward, then gently fold the top point downward toward the filling.

Step 6) - Bring the two side corners around your fingertip, overlap them slightly, and pinch firmly to seal.
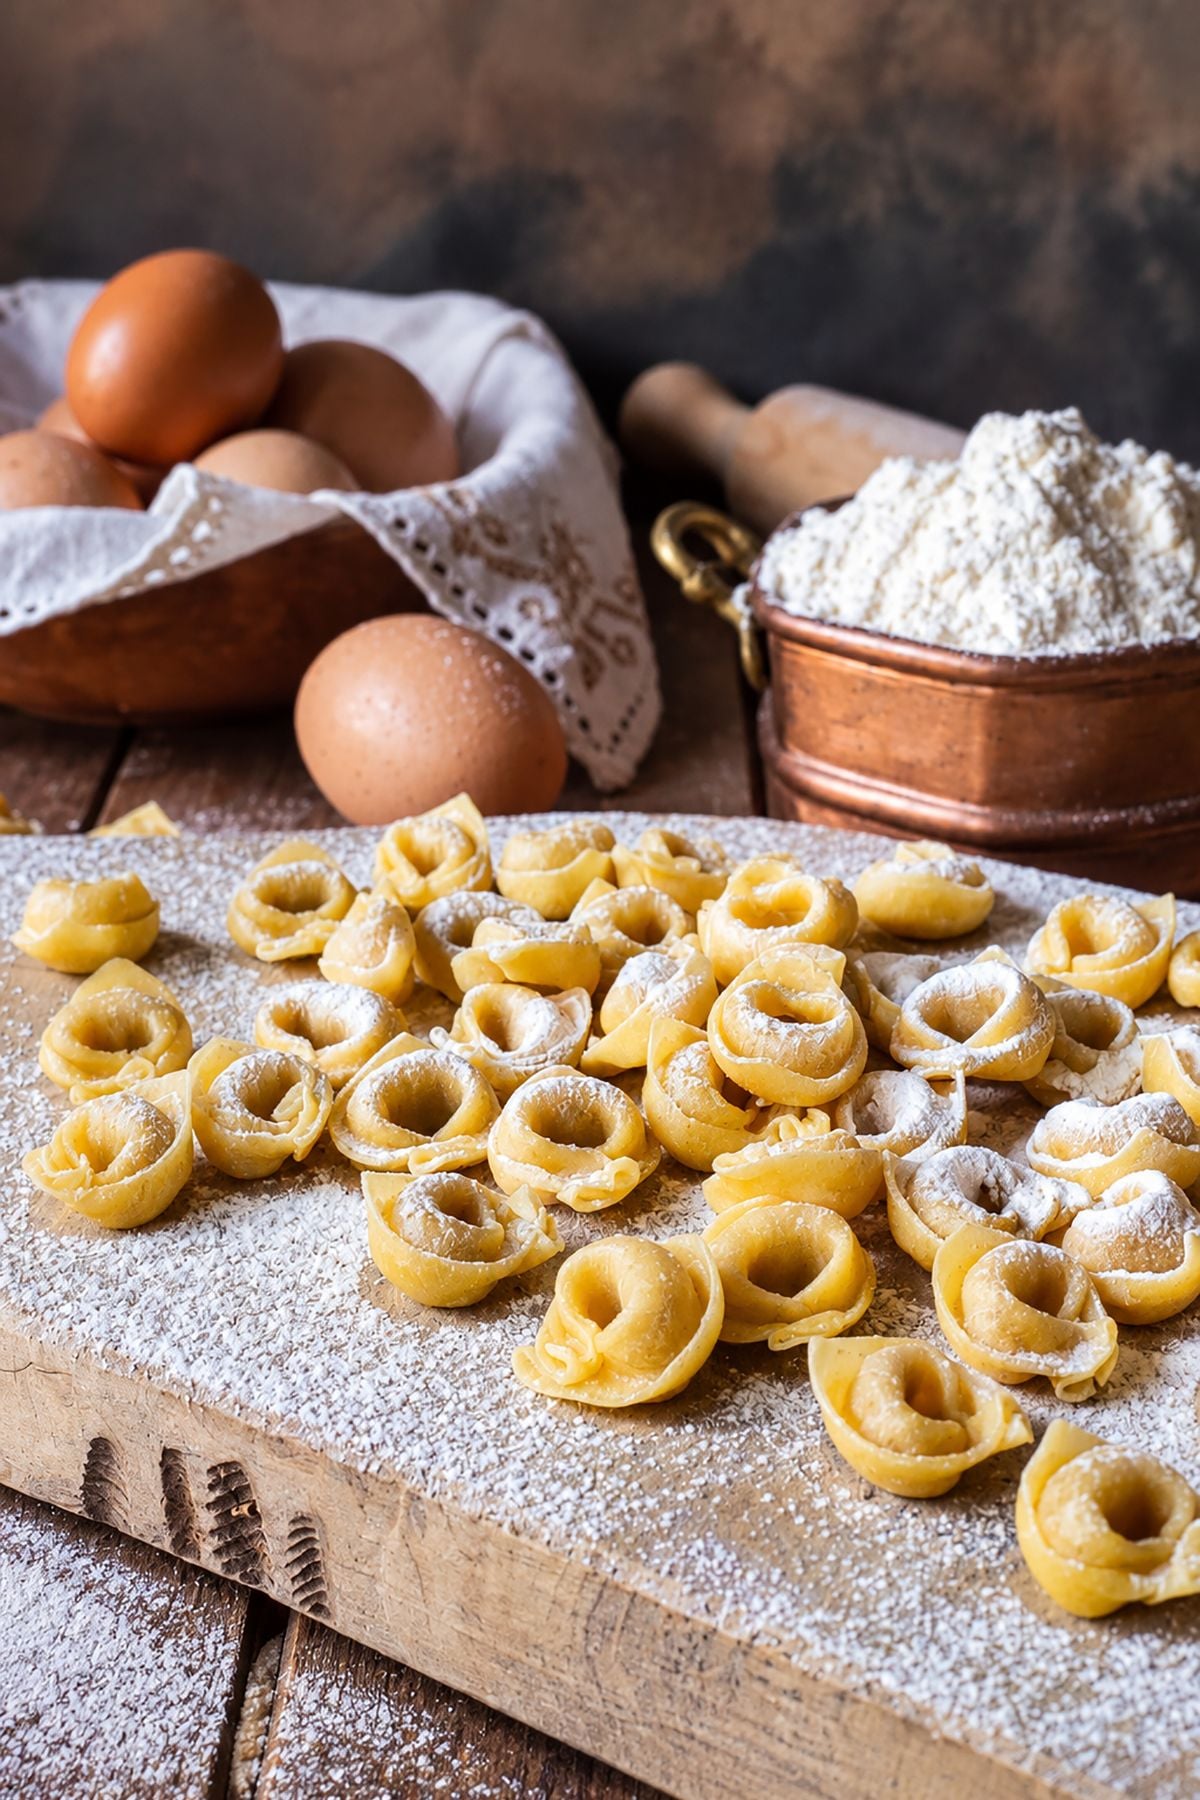
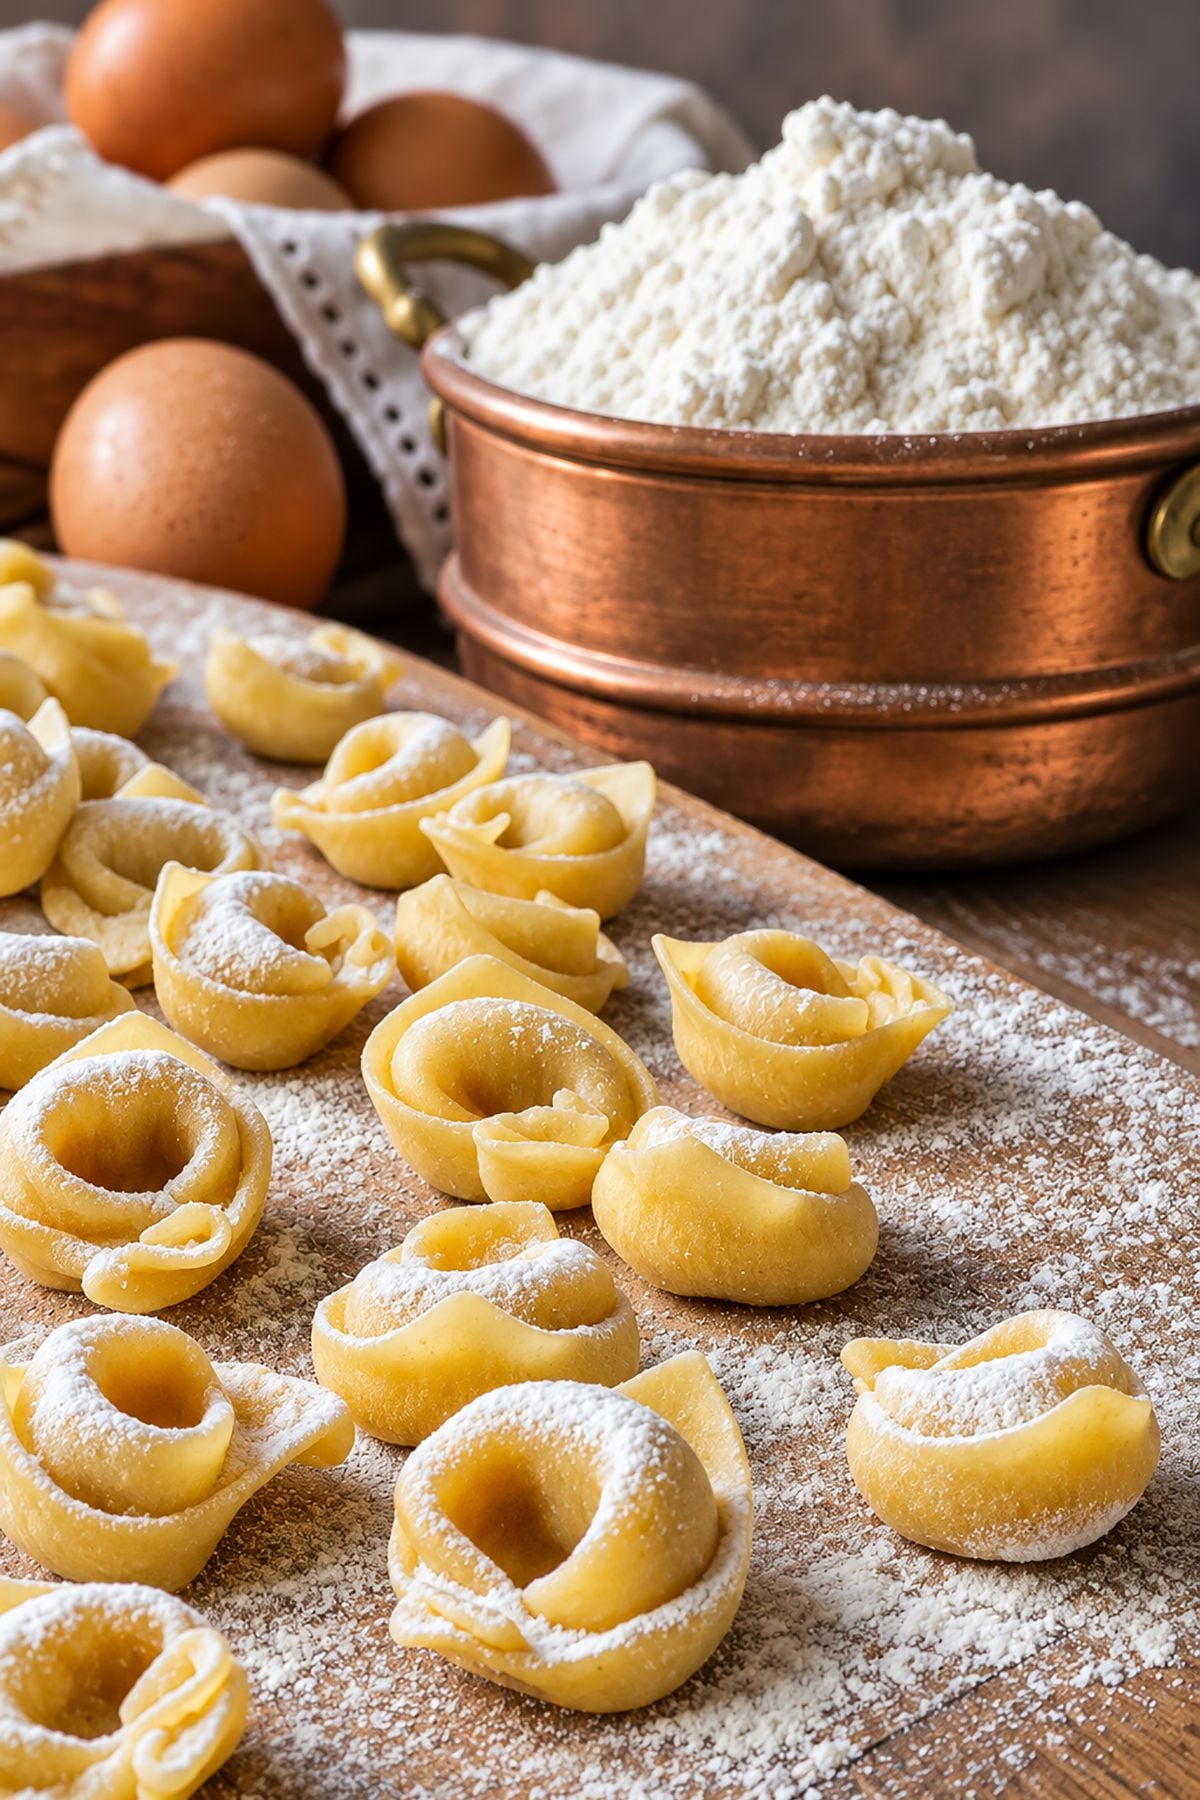
The characteristic tortellino shape should have a small opening in the center.
Place the finished tortellini on a clean kitchen towel or tray lightly dusted with semolina, leaving a little space between them.
Continue until all the pasta and filling have been used.
Making tortellini by hand takes time, especially the first few times, but once you find your rhythm the shaping becomes much faster.
Your homemade tortellini are now ready to cook or freeze.
Tips for Perfect Homemade Tortellini
Keep the pasta covered while you work. Fresh pasta dries very quickly. Work with one sheet at a time and keep the remaining dough and pasta sheets well covered until you are ready to use them.
Roll the pasta thin, but not too thin. For tortellini, the sheet should be about 1 mm thick. It needs to be thin enough to remain delicate after cooking, but still strong enough to hold the filling without tearing.
For a more traditional filling. The registered Tortellino di Bologna recipe calls for the pork loin to rest for 2 days with salt, pepper, rosemary, and garlic before being gently cooked in butter. In this recipe, I use a simplified method and cook the pork directly, but you can follow the traditional preparation if you want a filling even closer to the registered Bolognese version.
Don't use too much filling. A small ball about the size of a chickpea is enough. Overfilling makes the tortellini difficult to close and increases the risk of them opening during cooking.
Work with only a few squares at a time. Cut and fill about 10 squares at once rather than preparing the entire sheet in advance. This helps prevent the pasta from drying before you can shape it.
Remove trapped air before sealing. After folding the square into a triangle, gently press around the filling before sealing the edges. Air pockets can expand during cooking and cause the tortellini to burst.
Use water only if necessary. Fresh, supple pasta usually seals without water. If the edges have started to dry, lightly moisten them with a fingertip. Too much water can make the pasta sticky and difficult to handle.
Dust with semolina sparingly. A little semolina prevents sticking, but avoid getting too much flour on the edges of the pasta squares, as this can make them harder to seal securely.
How to Cook Fresh Tortellini
Fresh homemade tortellini cook very quickly. Bring a large pot of broth or lightly salted water to a gentle boil, then add the tortellini a few at a time so they do not stick together.
Cook for about 3–5 minutes, depending on the thickness of the pasta. They are usually ready when they rise to the surface and the pasta is tender but still slightly firm.
Avoid a vigorous boil, which can cause the tortellini to open or break.
If serving them in broth, cook the tortellini directly in the hot broth. For other preparations, drain them gently with a slotted spoon and season or sauce them immediately.
Storage and Freezing
In the Refrigerator
Fresh homemade tortellini are best cooked the same day they are shaped. Arrange them in a single layer on a tray lightly dusted with semolina, making sure they do not touch, and keep them covered in the refrigerator.
Because the filling has already rested in the refrigerator for 24 hours, I recommend cooking the tortellini within 24 hours after shaping rather than storing them for several more days.
How to Freeze Homemade Tortellini
Freezing is the best option if you want to prepare tortellini ahead of time.
Arrange the freshly shaped tortellini in a single layer on a tray lightly dusted with semolina, without letting them touch. Freeze for about 1–2 hours, until completely firm.
Transfer the frozen tortellini to a freezer bag or airtight container and store them for up to 1–2 months for best quality.
There is no need to thaw them before cooking. Add the frozen tortellini directly to gently boiling broth or salted water and allow 1–2 extra minutes of cooking time.
How to Serve Homemade Tortellini
The most traditional way to serve homemade tortellini is in a rich meat broth, especially in Bologna and throughout Emilia-Romagna during Christmas and other special occasions.
They are also delicious with a simple sauce of butter and Parmigiano Reggiano, which lets the flavor of the filling remain the star of the dish.
For a richer version, tortellini can be served with cream and prosciutto, or used in a baked pasta dish with tomato sauce and mozzarella.
Whatever the preparation, avoid heavy sauces that completely cover the delicate flavor of the pasta and its traditional meat filling.
History and Origins of Tortellini
Tortellini are one of the most famous filled pastas of Emilia-Romagna, especially associated with Bologna and Modena, two cities that have long shared — and sometimes disputed — their culinary heritage.
The exact origin of tortellini is difficult to establish. Filled pasta has been part of Italian cooking for centuries, and Renaissance cookbooks already mention preparations called tortelletti. By the 18th century, documents from Bologna specifically record tortellini being served as part of local meals.
One of the best-known legends says that the characteristic ring shape of the tortellino was inspired by the navel of Venus. Like many food legends, it's part of local tradition rather than documented history, but it has become inseparable from the story of this famous pasta.
The modern traditional recipe was formally codified in Bologna on December 7, 1974, when the Dotta Confraternita del Tortellino, together with the Italian Academy of Cuisine, registered the classic filling for the Tortellino di Bologna. The filling includes pork loin, Prosciutto di Parma, Mortadella di Bologna, Parmigiano Reggiano, egg, and nutmeg.
In 2008, the Confraternita also registered the traditional characteristics and preparation method of the classic Tortellino di Bologna, helping preserve its size, shape, filling, and traditional craftsmanship.
Today, homemade tortellini remain closely connected with family celebrations and holiday meals throughout Emilia-Romagna, especially when served in a rich meat broth.
More Italian Stuffed Pasta Recipes to Try
If you enjoy making filled pasta from scratch, here are a few more traditional Italian recipes to try:
- Homemade Ravioli – A complete guide to making fresh ravioli at home, with ricotta and spinach filling and step-by-step shaping instructions.
- Italian Beef Ravioli – Homemade ravioli filled with a rich, savory meat mixture and made entirely from scratch.
- Italian Pumpkin Ravioli (Tortelli di Zucca) – Traditional Mantuan filled pasta made with pumpkin, amaretti, Mostarda Mantovana, and Parmigiano Reggiano.
Recipe Card
Homemade Tortellini from Scratch (Traditional Italian Recipe)

Ingredients
For the Pasta Dough
- 150 g Italian 00 flour - 1¼ cups
- 150 g durum wheat semolina flour - about 1 cup, plus a little more for dusting
- 3 medium eggs - about 65–70 g (2.3–2.5 oz) each
For the Tortellini Filling
- 100 g pork loin - 3½ oz
- 100 g Mortadella di Bologna - 3½ oz, preferably in one thick slice
- 100 g Prosciutto di Parma - 3½ oz, preferably in one thick slice
- 150 g finely grated Parmigiano Reggiano - about 1½ cups
- 1 large egg
- ¼ teaspoon freshly grated nutmeg
- 1 knob unsalted butter
- fine salt - only if needed
Instructions
Make the Tortellini Filling
- Roughly chop the pork loin, Mortadella, and Prosciutto di Parma.
- Melt a small knob of butter in a skillet and add the pork. Cook for a few minutes over medium-low heat, then cover and continue cooking gently for about 3–4 minutes, or until cooked through but still tender. Let it cool slightly.
- Place the cooked pork, prosciutto, and mortadella in a food processor.Pulse until the mixture is very finely chopped, but avoid processing it into a completely smooth paste.
- Transfer the mixture to a bowl. Add the finely grated Parmigiano Reggiano, egg, and nutmeg.Mix thoroughly. Taste before adding salt, since the prosciutto, mortadella, and Parmigiano are already naturally salty.
- Continue mixing until you have a compact, evenly blended filling.Cover the bowl tightly with plastic wrap and refrigerate for 24 hours.
Make the Pasta Dough for Tortellini
- Place the “00” flour and semolina flour on a clean work surface and mix them together. Shape the flour into a mound and make a wide well in the center.Crack the eggs into the well.Using your fingertips, gradually work the flour into the eggs until the dough begins to come together.Knead vigorously for about 10 minutes, pushing the dough away from you with the heel of your hand and folding it back over itself. Use a dough scraper to gather any pieces sticking to the work surface.The finished dough should be smooth, firm, and elastic.
- Shape the dough into a ball and wrap it tightly in plastic wrap to keep it from drying out.Let it rest at room temperature for at least 30 minutes. This relaxes the gluten and makes the dough much easier to roll.
- Lightly dust the work surface with semolina flour.Take a piece of dough about the size of a tennis ball and flatten it with your palms. Keep the remaining dough wrapped while you work so it stays soft.Set your pasta machine to its widest setting and pass the dough through the rollers once.
- Fold the pasta sheet in half, then fold it in half again.This first folding stage helps create a smoother, more elastic sheet.
- Lightly dust the dough with semolina if needed and pass it through the widest setting again.Repeat the fold-and-roll process 2 or 3 times, until the sheet becomes smooth and even.
- Begin reducing the thickness one setting at a time, passing the dough through the rollers without folding it again.Continue until the pasta sheet is about 1 mm thick. On my pasta machine, this is approximately setting 5, but pasta machines vary, so use the actual thickness as your guide.
How to Shape Tortellini
- As soon as the pasta sheets are ready, dust them very lightly with semolina and keep them covered so they do not dry out.Work with one sheet at a time.Cut the sheet lengthwise into strips about 3–4 cm (1.2–1.6 inches) wide, then stack the strips carefully.
- Cut the strips into squares measuring 3–4 cm (1.2–1.6 inches) on each side.
- Roll the filling into tiny balls, approximately the size of a chickpea, and place one in the center of each square.
- Fold each square diagonally, corner to corner, to form a triangle.Press gently around the filling to remove any trapped air, then press the edges firmly together to seal.
- Hold the triangle with the point facing upward, then gently fold the top point downward toward the filling.
- Bring the two side corners around your fingertip, overlap them slightly, and pinch firmly to seal.The characteristic tortellino shape should have a small opening in the center.
- Place the finished tortellini on a clean kitchen towel or tray lightly dusted with semolina, leaving a little space between them.Continue until all the pasta and filling have been used.Making tortellini by hand takes time, especially the first few times, but once you find your rhythm the shaping becomes much faster.Your homemade tortellini are now ready to cook or freeze.



Elizabeth E says
I’ve been using my mother’s recipe with a chicken, veal, and cheese filling cooked in chicken brodo but I’d like to try this filling, which sounds similar to tortellini we picked up at Sfoglia Rina in Bologna. Interestingly, I make tortellini using 1” squares (my dad created a rolling cutter with circular blades set 1” apart) and the ones in Bologna were even smaller. I’m surprised though that you say to cook the tortellini in broth for just a few minutes. Even when then are fresh, I’ve always cooked them much longer than that.
Barbara Felicità Lucchini says
Thank you for sharing this wonderful family tradition! Your father’s rolling cutter sounds like such a clever tool, and you are right that traditional tortellini from Bologna can be incredibly small.
The cooking time can vary considerably depending on the thickness of the pasta and on how fresh or dry the tortellini are. The 2–3 minutes indicated in the recipe refer to tortellini made with a very thin sheet of pasta and cooked soon after shaping.
If the pasta is slightly thicker, or if the tortellini have been left to rest and dry for some time, they will naturally need longer. Frozen tortellini will also require a few additional minutes.
The best method is always to taste one before serving: the pasta should be tender but still hold its shape. So please consider 2–3 minutes a starting point and adjust the cooking time according to the thickness and texture of your tortellini.
JAX says
Thank you for this! I can't even find a restaurant that will make this anymore!